These
are just a few suggestion that I came up with but I am sure you can think of
many more ideas. I try to stay away from
bath and body stuff because children as well as adults may have allergies to
these items.
T-shirt or Canvas bag
project:
I have
had the child choose a color fabric paint and put their hand print on the T-shirt. Or have each student do the same and then add
their name under their hand print.
Materials:
·
T-Shirt or
Canvas Bag,
·
cardboard
for shirt form (You can use a box or even one half of an empty cereal box as I
have done in the past)
·
Dimensional
Fabric Paint
·
Paper Plate
Place the
cardboard inside the t-shirt as if the cardboard is wearing the shirt. Then start out by squeezing out enough paint
onto the paper plate for a child to dip his/her hand or finger tips in to the
paint. Once their hand is covered by paint, have them press it onto whatever
you are decorating. Let paint dry as
recommend on the fabric paint directions. The same effect works well for toe
bags as you see below.

I was given a ceramic apple with the student name on one side
and my name on the other side of the apple with gold paint.
You can get coffee mugs to decorate yourself at any craft
store. Recently, at Hobby Lobby they
also had glasses, too.
 Creatology™
Ceramic Mug with Markers
Creatology™
Ceramic Mug with Markers
When I taught in Middle School, I had some of my special needs
children make paperweights. See picture
below.
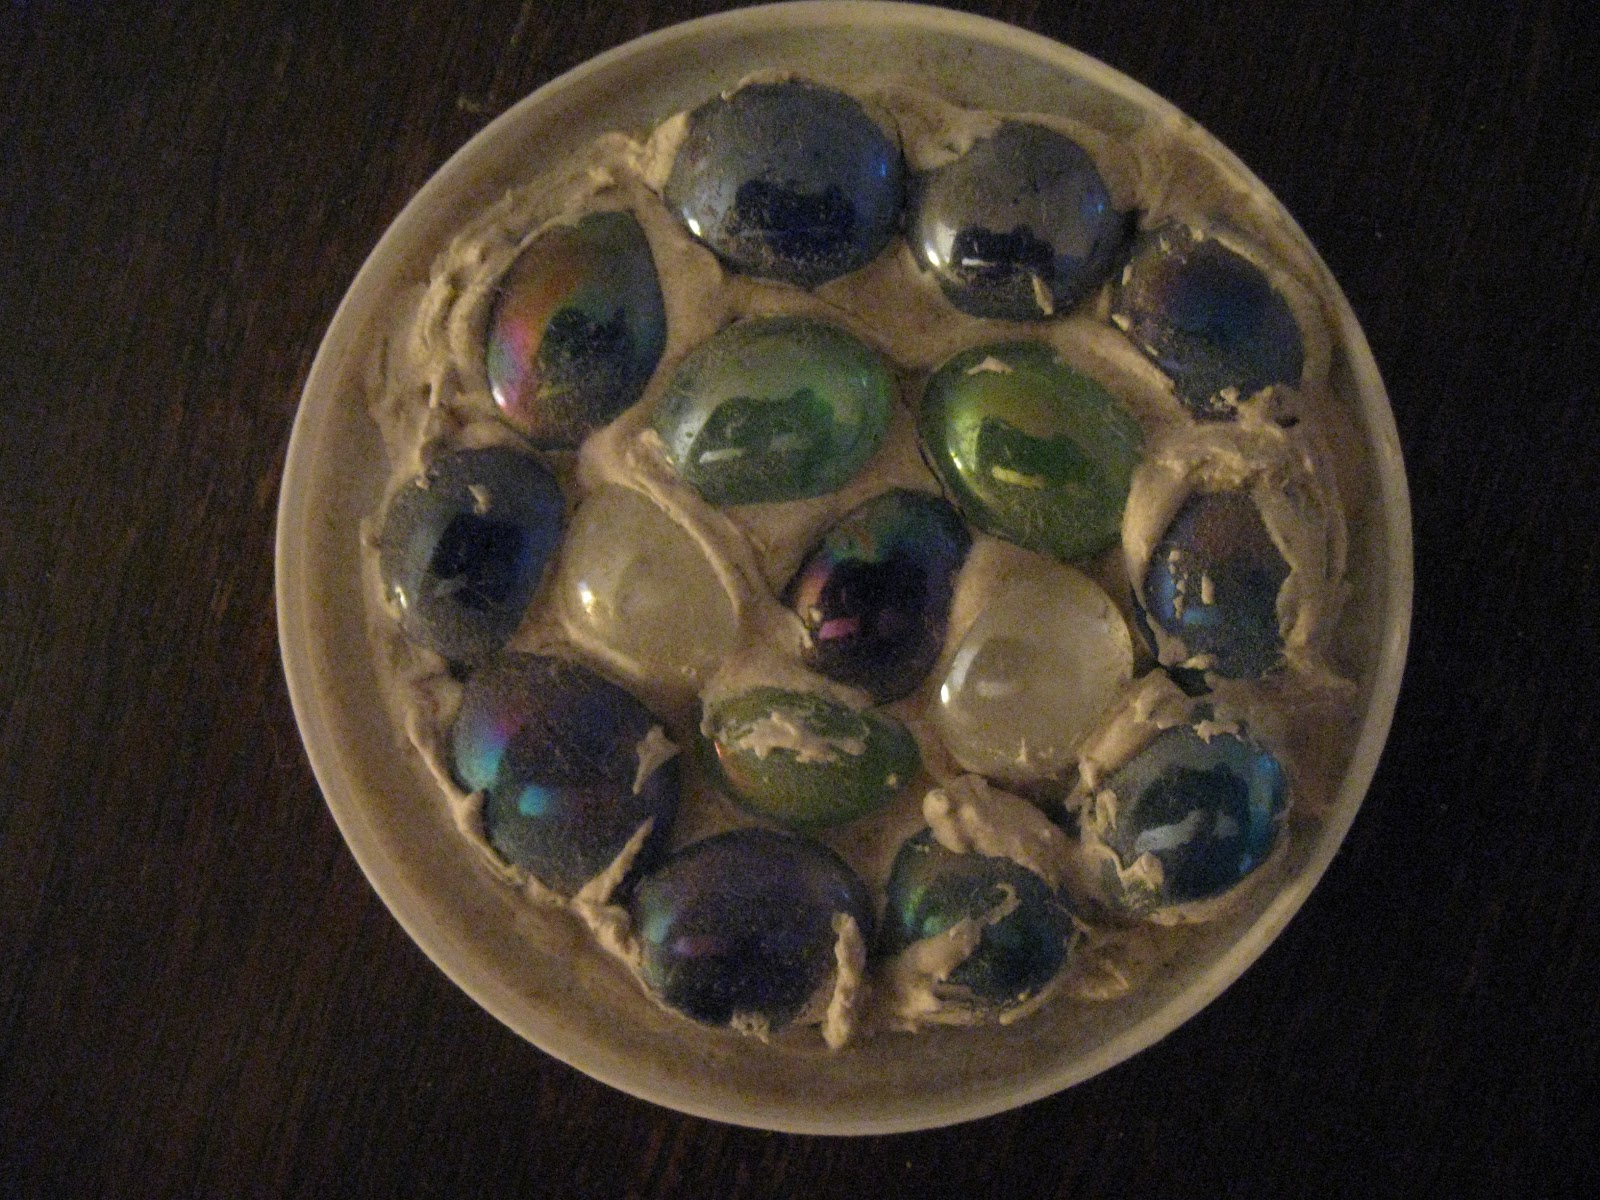
Plaster
paperweight--1:
At that time we use lid from Ricotta Cheese containers, but
you could use the jar lids from Del Monte fruit which gives you a deeper and
heavy paperweight. From the floral
department, we got some color stones. Take the stones and put them in the lids
of your choosing. Then add on top either plaster of Paris, ceramic tile grout
(available at hardware stores), or spackling compound on top to hold the stones
in place.


Plaster
paperweight--2
Mix 4 tbsp. plaster of paris 2 tbsp. water, then into corner
of plastic bag pour. Have the child
twist the top of bag should kind of look like chocolate kiss. You should let sit for about 2 minutes. At this
point the child can made strange shapes.
Let sit for ½ hour or until completely set. After dry, remove from bag
and child can decorate it with tempera paint. Parent may need to do the
following depending on the age of the child---when paint is dry use clear varnish
to seal paperweight.
Button
Pin:

Get small wooden shape from the craft store (painting section
of the store). We used hearts for this
project or you could use any colorful buttons without shank backs. To affix
them use Aleene’s tacky glue or “Strong” Elmer’s glue (not the school version). After everything is dry, attach a pin or pins
purchased at the jewelry area of the department store to finish the button pin.

Apple Pencil
Topper or Pen
Cut one apple from a red silk flower. Then cut one small leaf
from a green silk flower. (Smaller
children can use stock paper.) Use double
stick tape and tape to pencil/pen or use 1 ½ inch piece of wire, then twist
wire around the top of the pencil. My suggestion would be to cover the wire
with floral tape.

Teacher's
Survival Kit Gift
Have the
child put all or several of these items in decorated basket, lunchbox, storage
container or pencil box.
•Aspirin: When all else
fails, take 2 and take a time out.
•Band-Aid: For when things get a little rough.
•Crayon: To color every day bright and cheerful.
•Ear Plugs: For when the noise gets too overwhelming.
•Life-Saver Candy: Because you are a life saver to many
children.
•Marbles: To replace those you might loose from time to time.
•Mounds Candy Bar: For the mounds of knowledge you share.
•Paper Clip: For when you need help in holding things
together.
•Peanuts: To remind you to be a little nutty sometimes.
•Puzzle Piece: Because you are a big piece of every child's
life.
•Rubber Band: To remind you to be flexible.
•Starburst Candy: To give you a burst of energy when you need
it.
When items are in the container, take an index card or a line
piece of paper or just cut and paste the list above on it to explain the
various items in the container. Give to
the educator when done.
For those
who value reading--make a bookmark:

This is just one example but kids can be very creative by just
giving them a strip of card stock and markers.
Some the craft stores carry bookmark template. A child can also use a
rubber stamp(s) on the bookmark.
Cereal
Box Magazine Holder:

Some of the above projects will also make great gifts for moms.
Mother’s Day is coming soon as well so you have a few ideas for that too.
Share your ideas on this or anything here on the blog by
making a comment here or e-mail me at stipple@verizon.net I look forward to hearing from you!
Sandi
No comments:
Post a Comment